Meet Sauron
The Story
This project was an entry into a contest put on by a website called The Rookies. The Rookies is a community that helps those rising in the industry to practice their skills and get their name out there through multiple means. One of these means is through monthly and annual contests, this entry being part of an annual contest for Adobe Substance Painter.
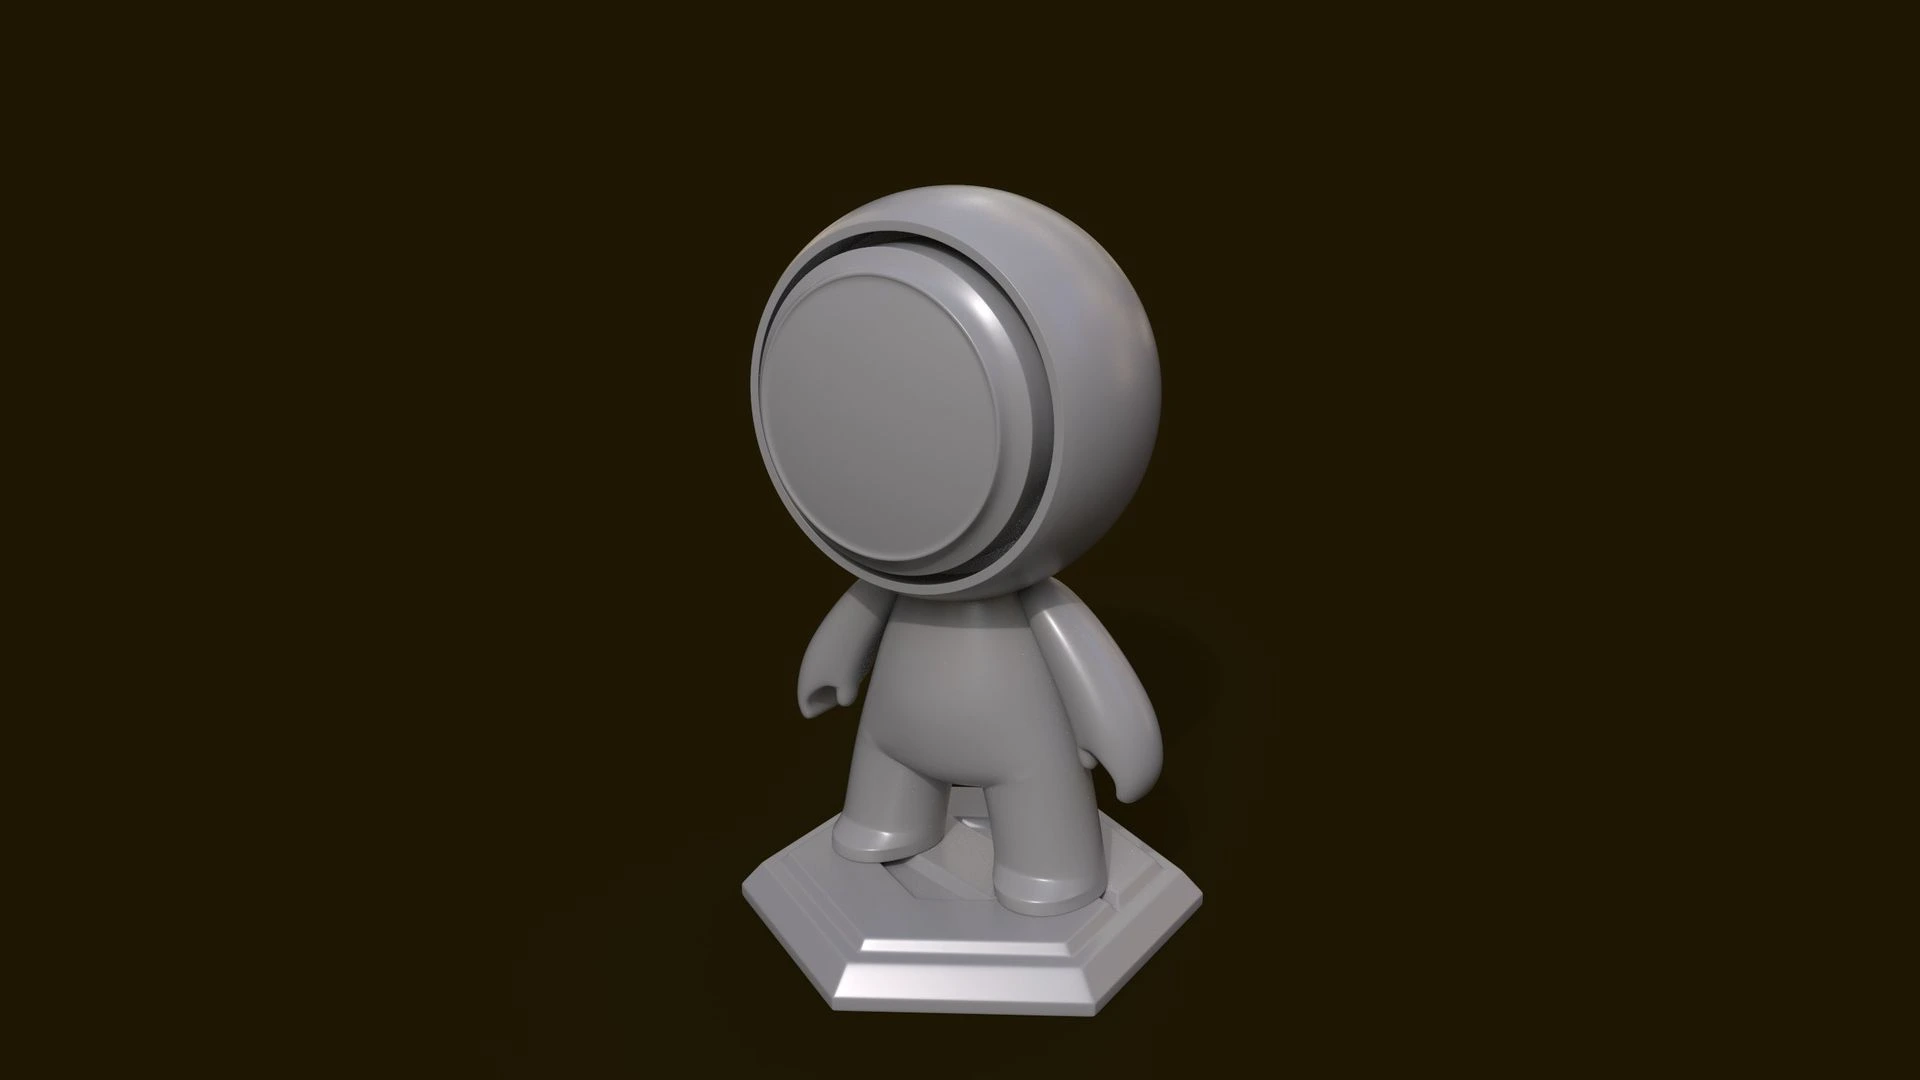
Adobe Substance Painter sponsors Rookies for an annual competition to challenge artists to make something unique from one of Substance Painter's template meshes, "Meet Mat." The goal is to transform Meet Mat into something completely unique only through texturing it in Substance Painter. The only stipulations they had were that you could not edit the actual mesh in the final product, but was allowed to import displacement maps made in other softwares (i.e.: sculpting the mesh in Z-brush, then exporting it as a displacement map to bring into Substance painter).
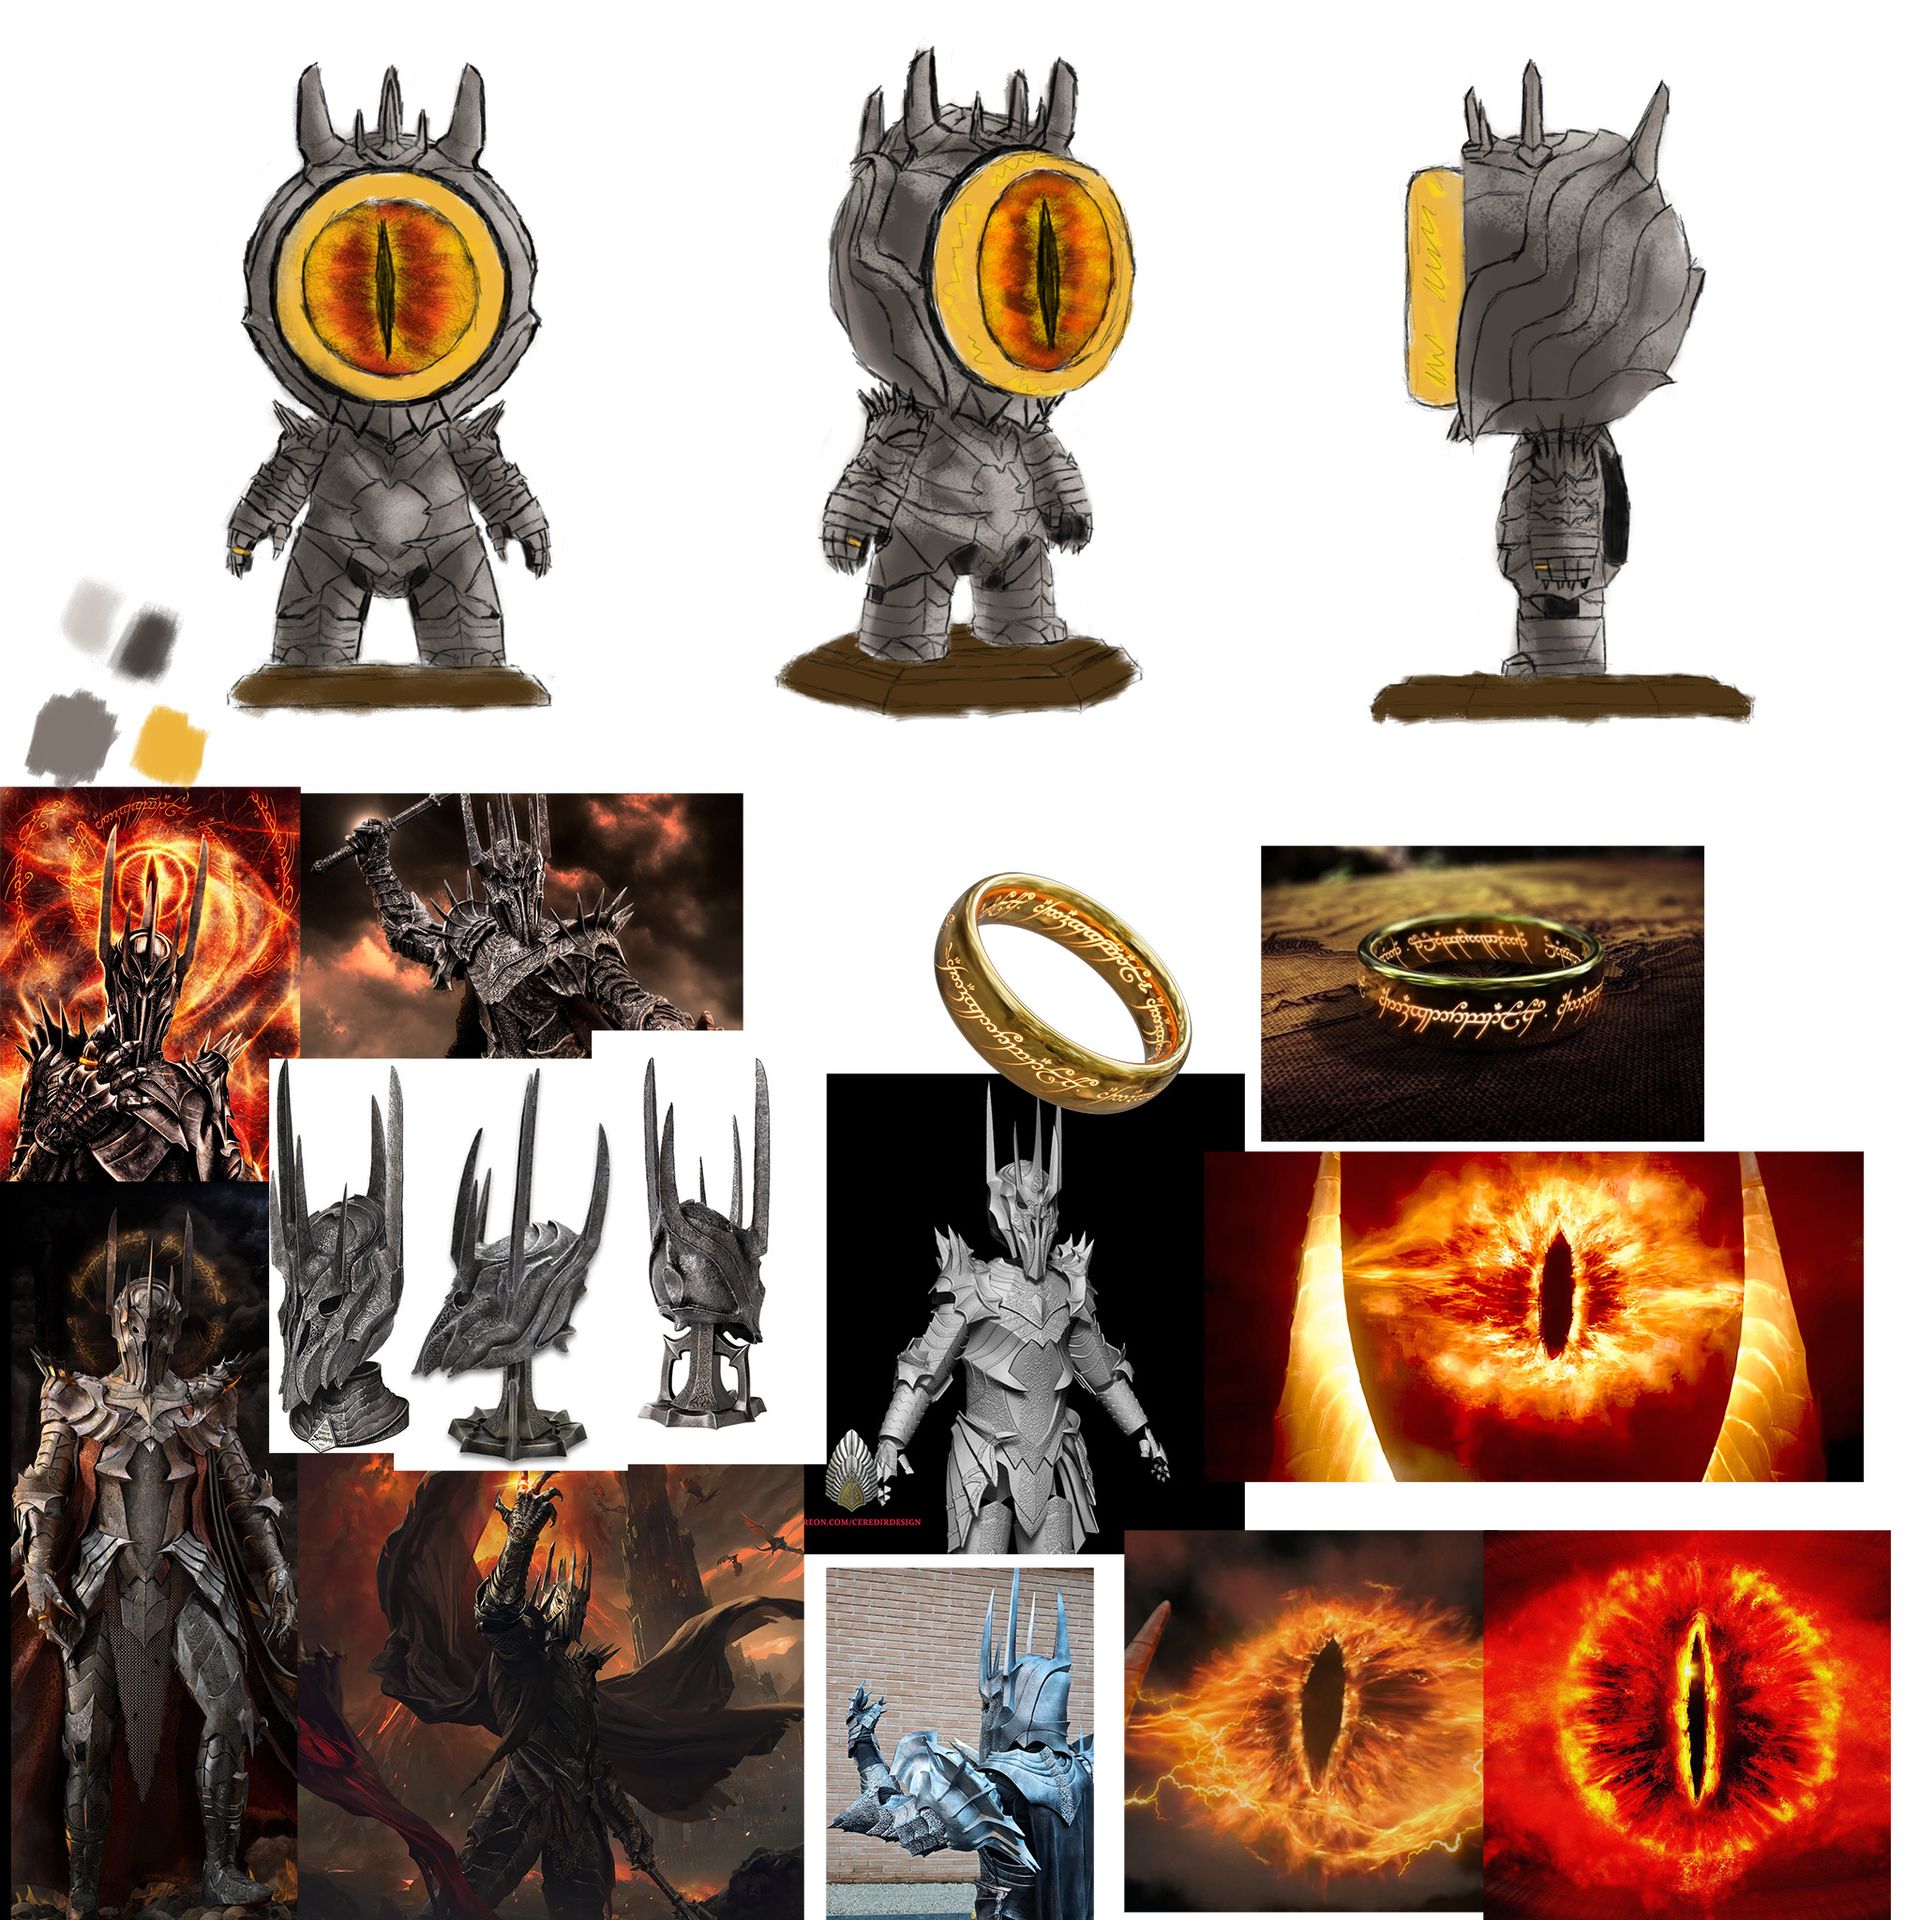
I toyed with several ideas, then landed on turning Meet Mat into Suaron, the Dark Lord of Mordor from the Lord of the Rings series. I noticed that the circle around the base mesh for the face made a perfect ring, so I saw my opportunity to use it as the One Ring with the Eye of Sauron directly in the center of it, with the rest of the body resembling Sauron's armor before he is defeated by Isildur.
The Process
Concept
First, I went into Photoshop to make a moodboard of all the references I needed for Sauron, the Ring, and his Eye. After that, sketched the rough idea of what I wanted Sauron to look like.
Displacement Mapping
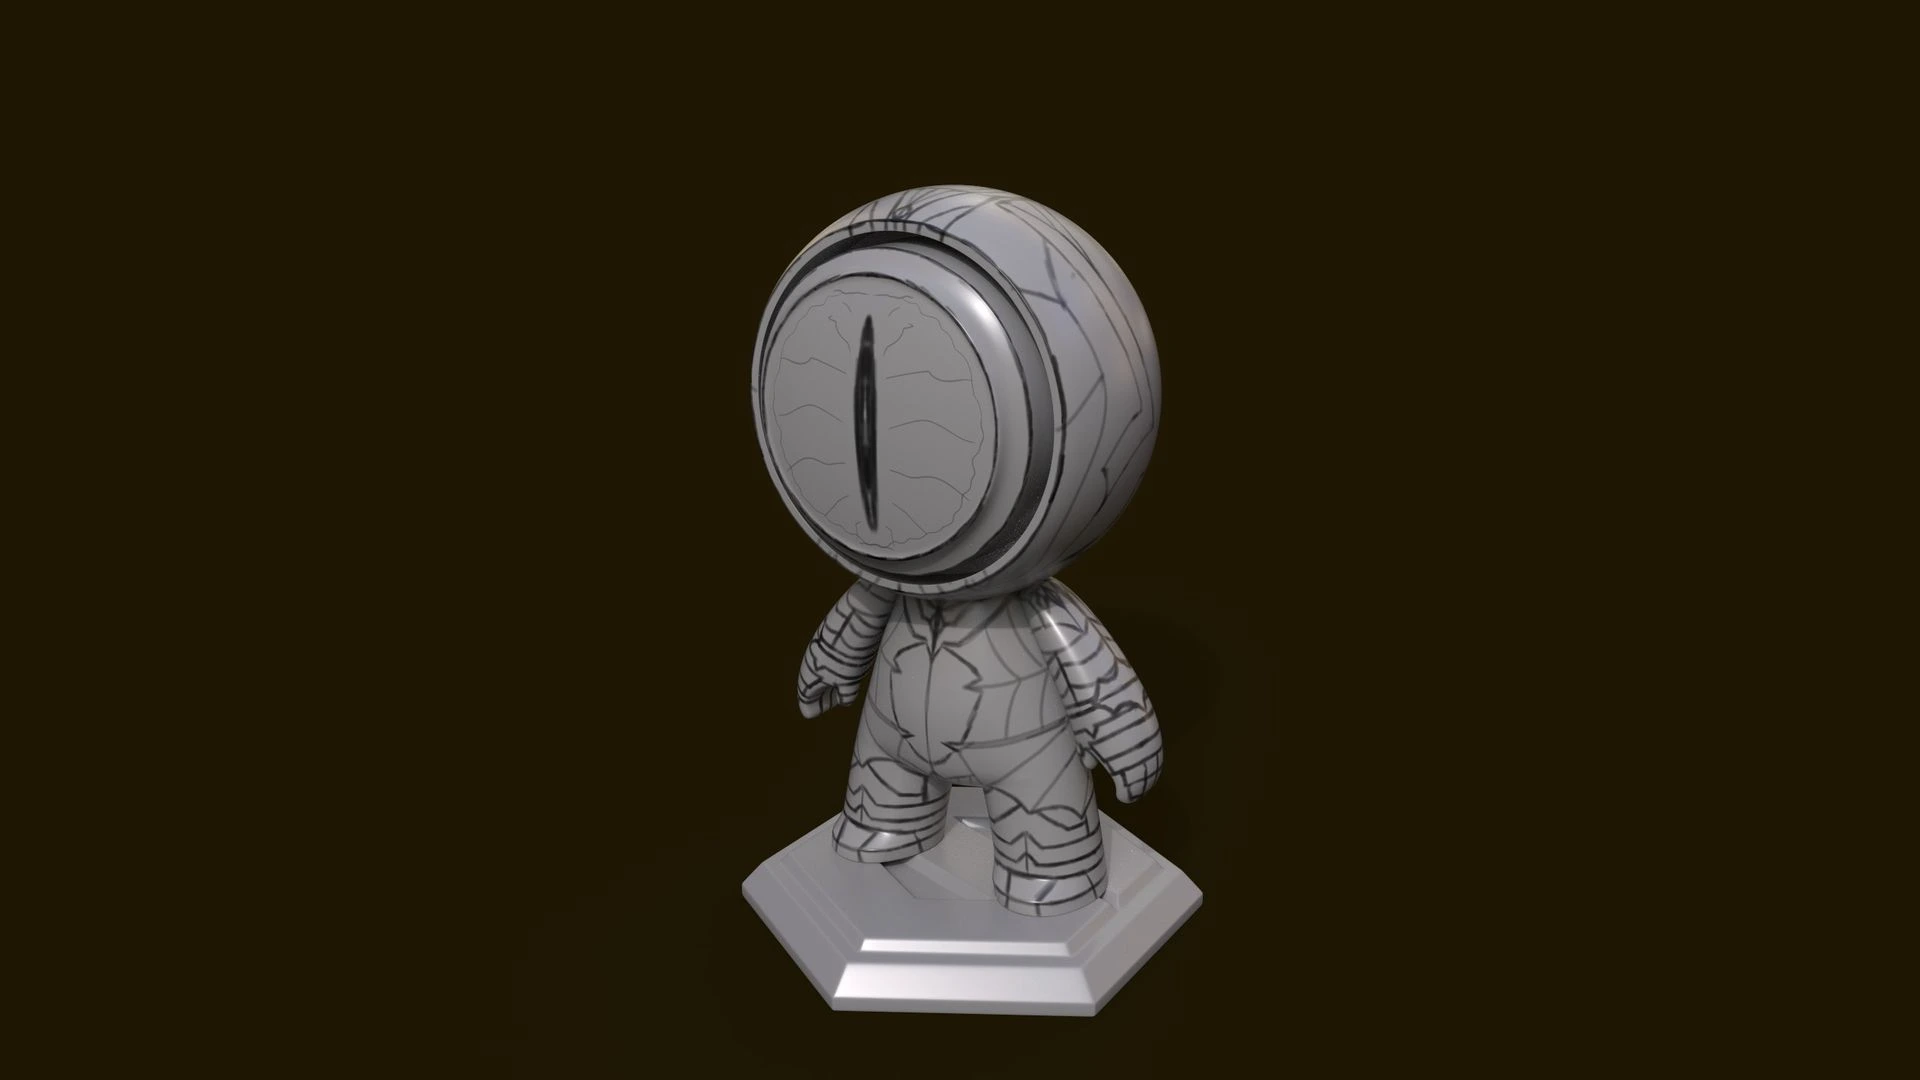
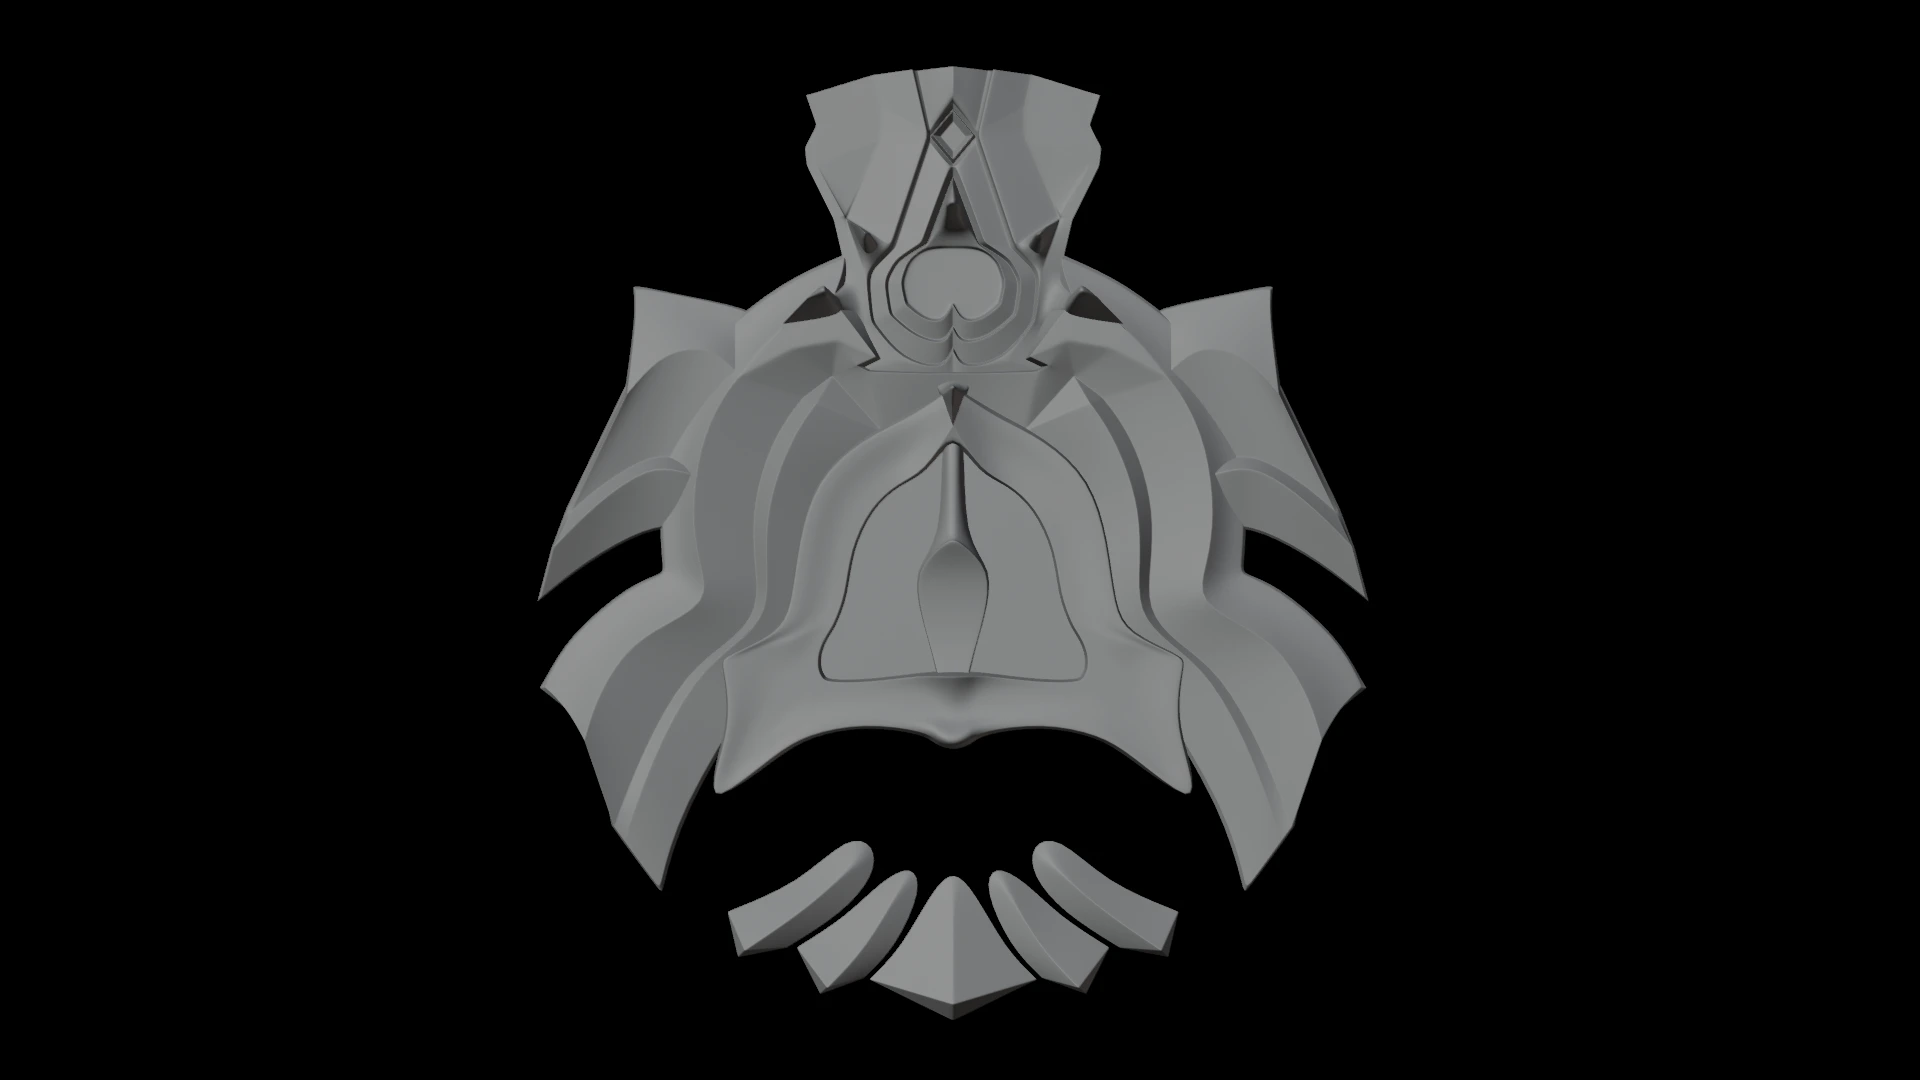
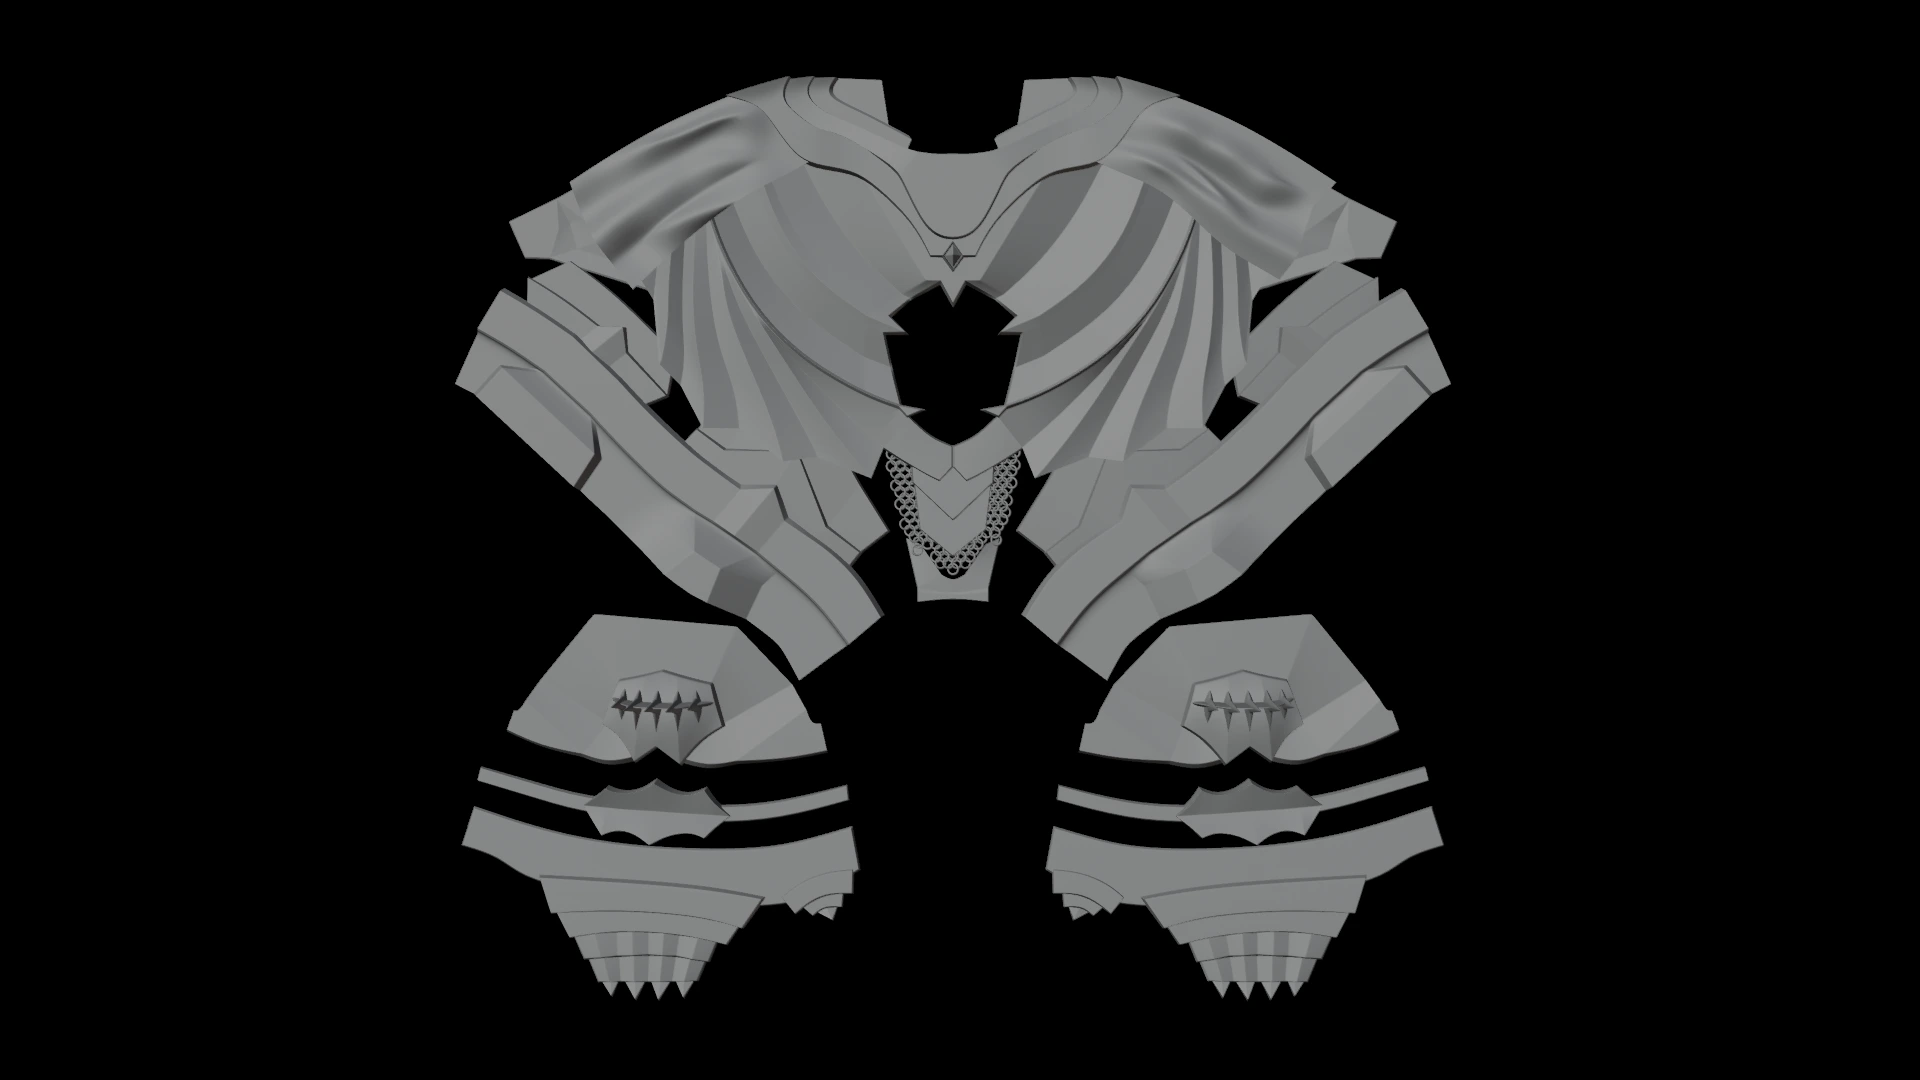
Now that I had my concept, I went into Substance Painter, sketched out the lines for where I wanted the details to go, exported that texture, brought it into Maya as a reference, modeled what I wanted the displacement map to look like, exported the model into Z-Brush, used Z-Brushes geometry to displacement map function, then finally brought that displacement map into Substance Painter
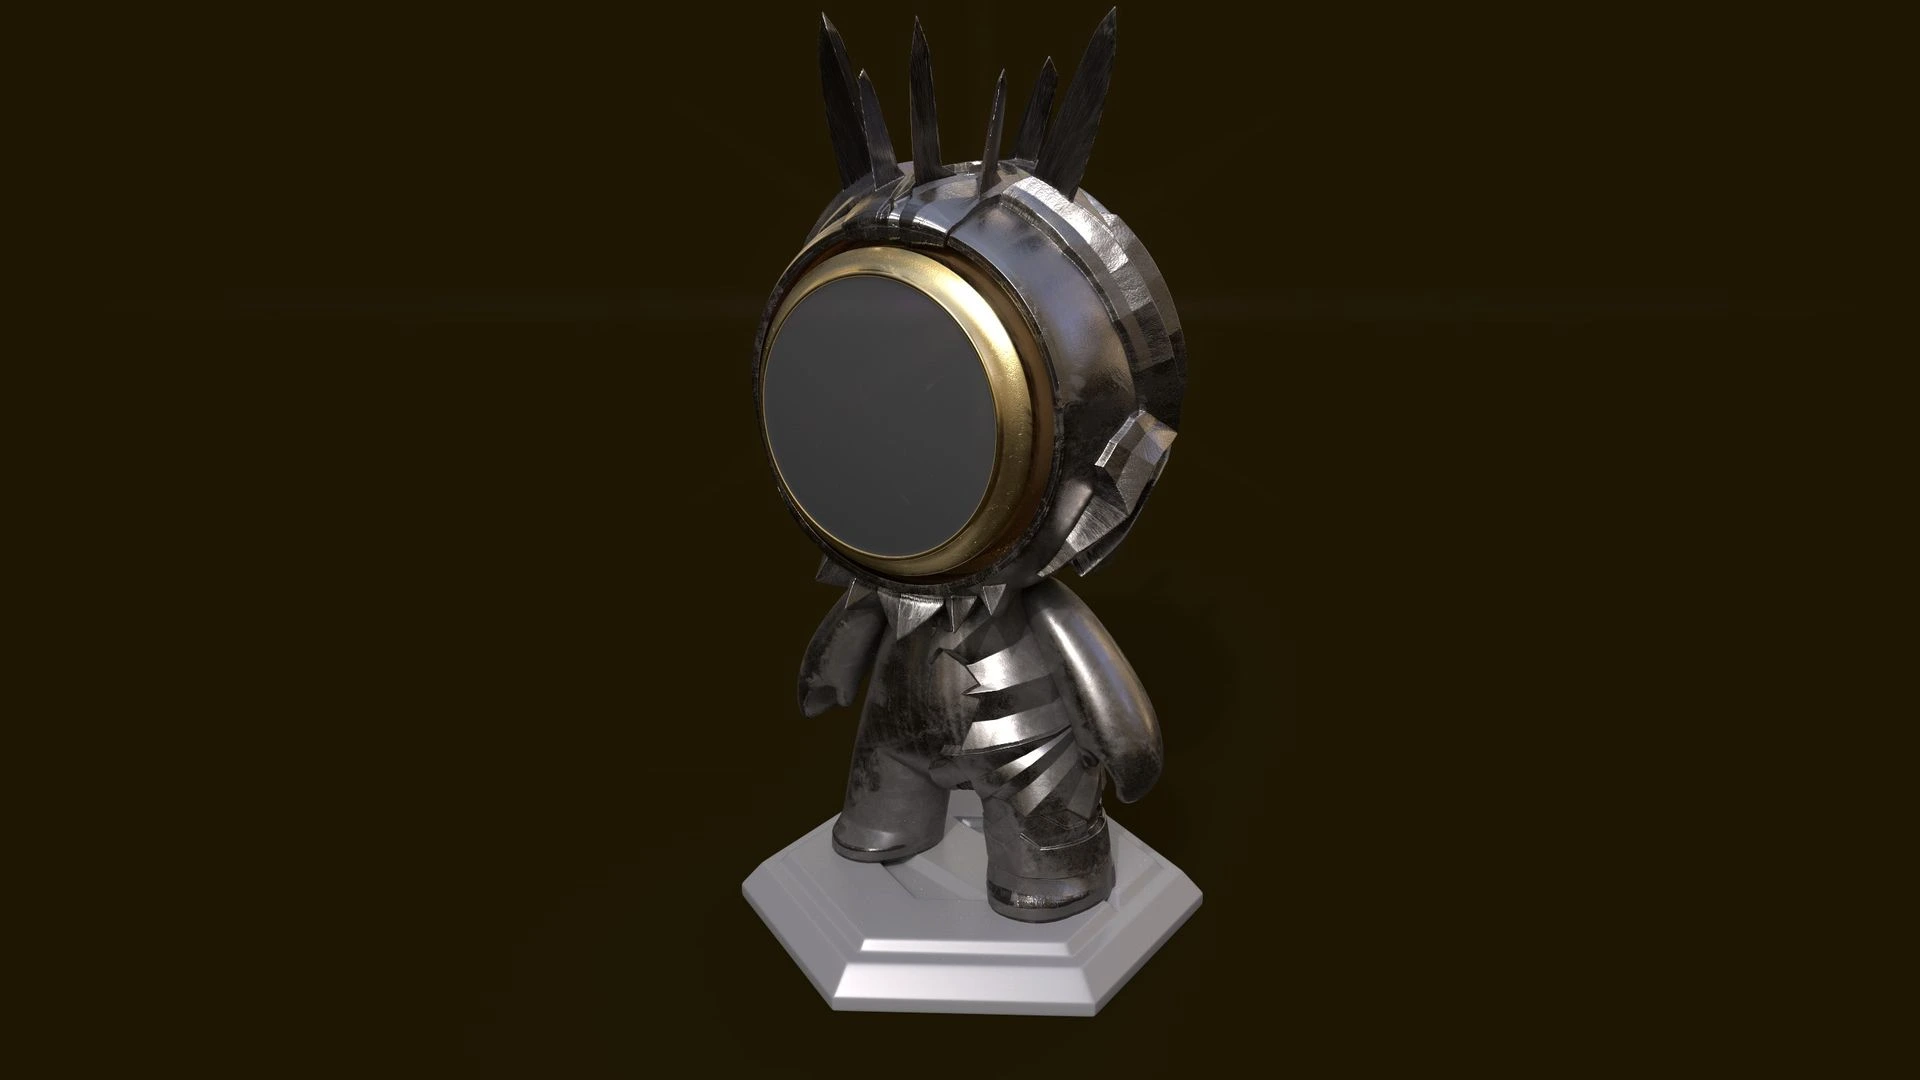
Texturing
I then textured everything on the model by hand. I hand painted floral embelishments across the entire armor like what is seen in the reference material, and put the Eye in the center of the Ring (using Photoshop to create the Eye)
The Result
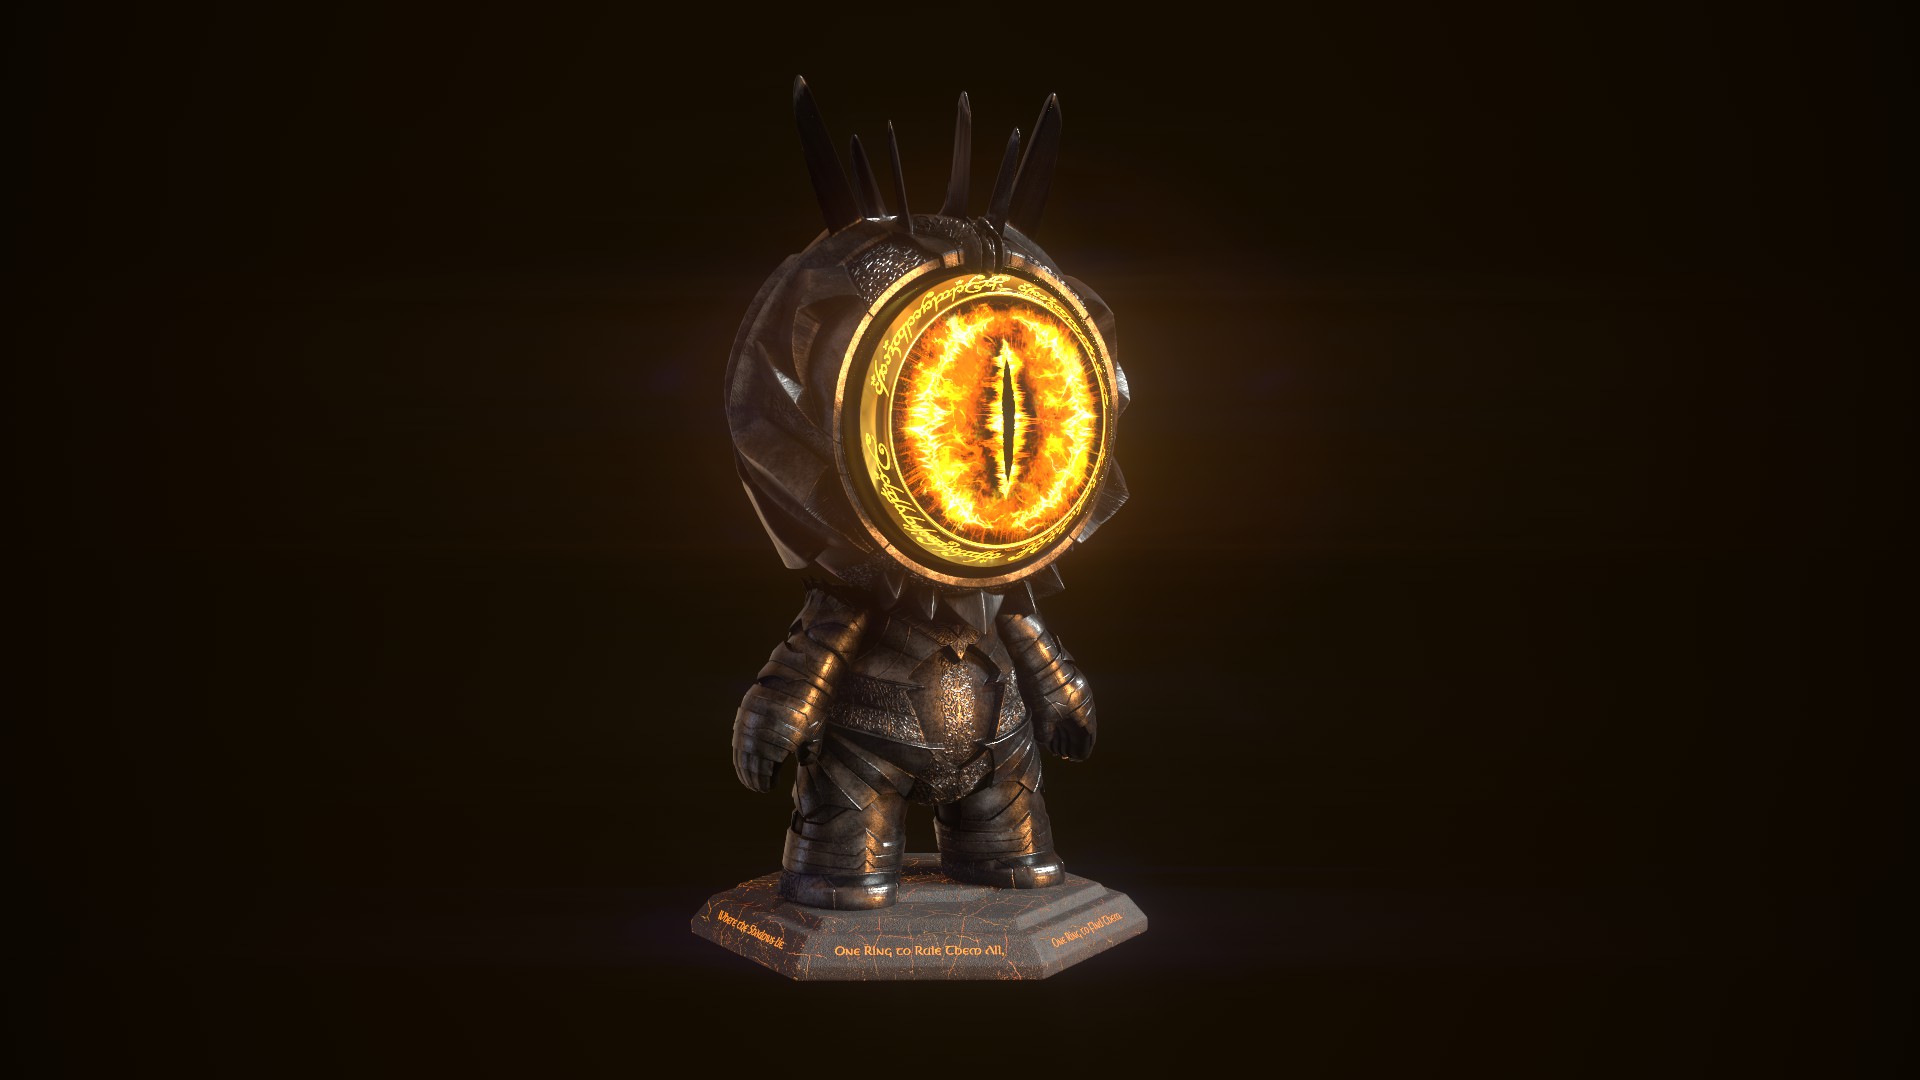
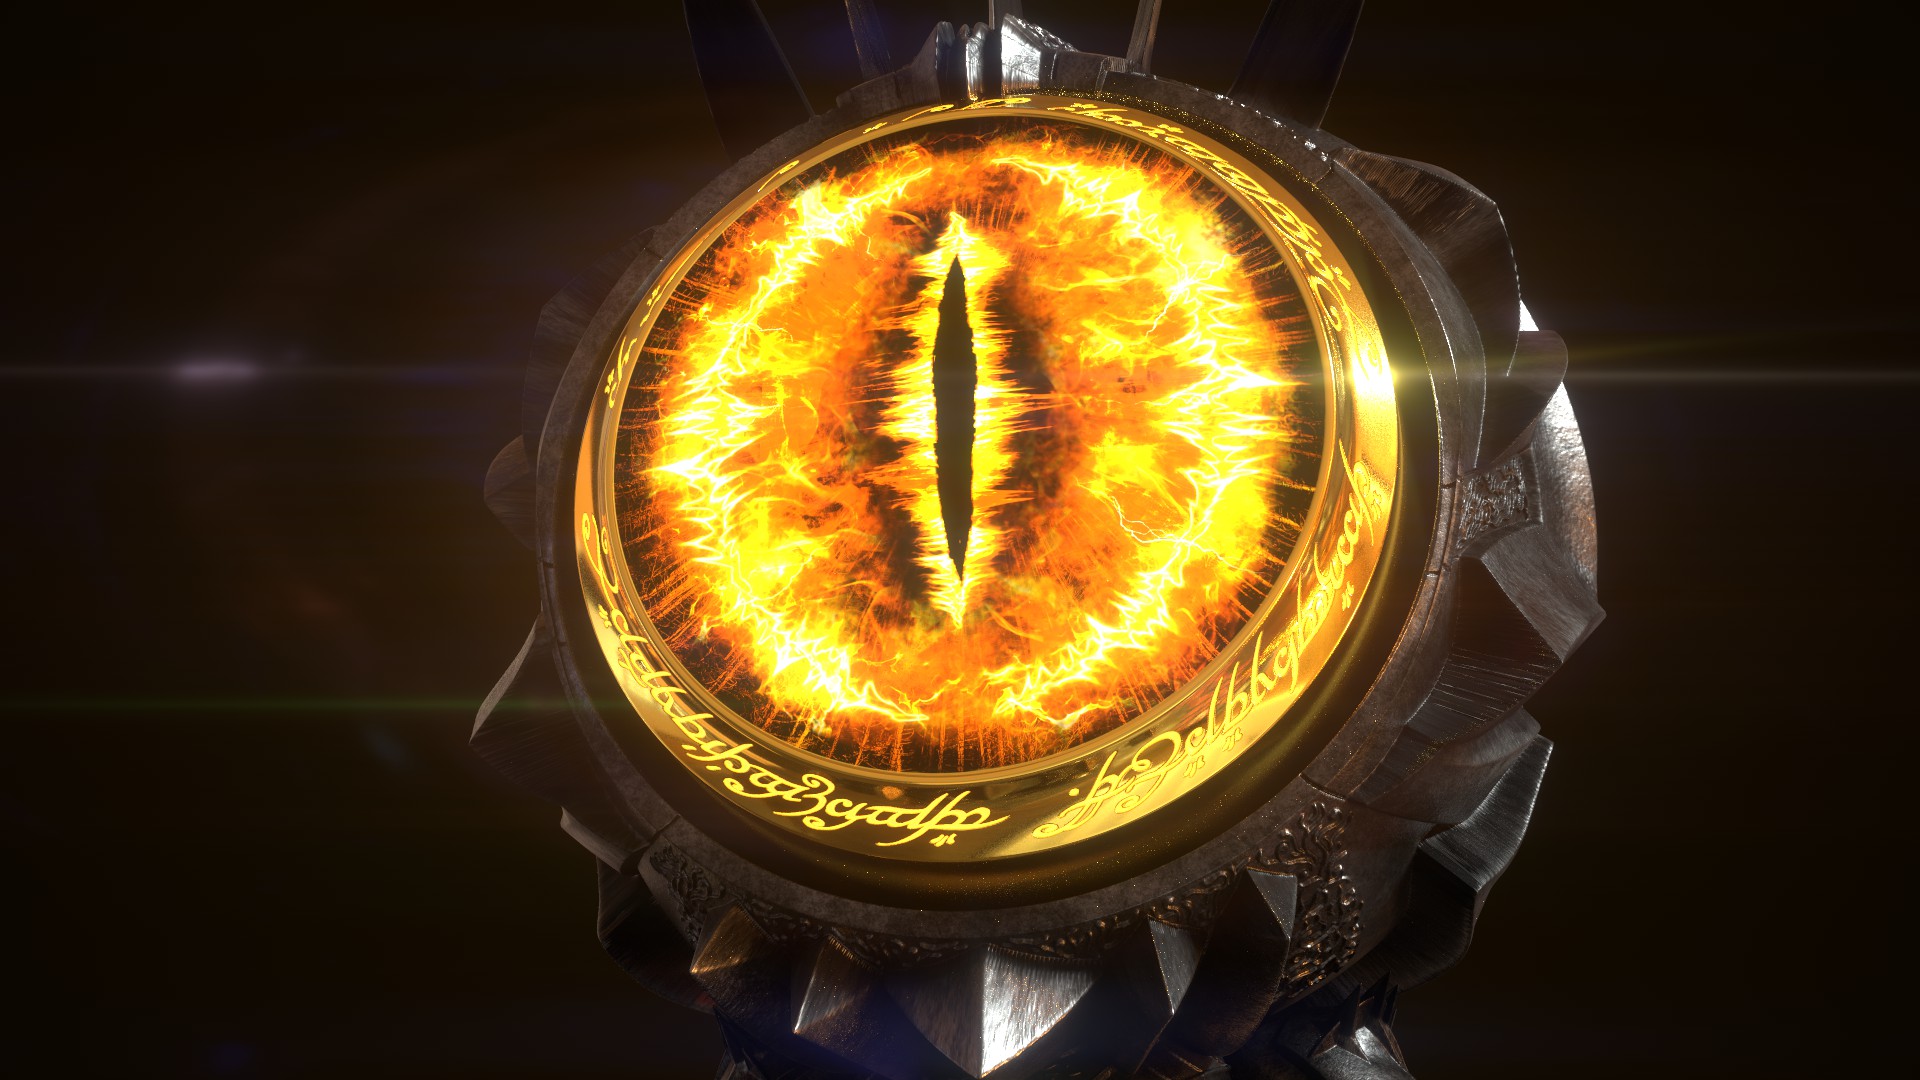
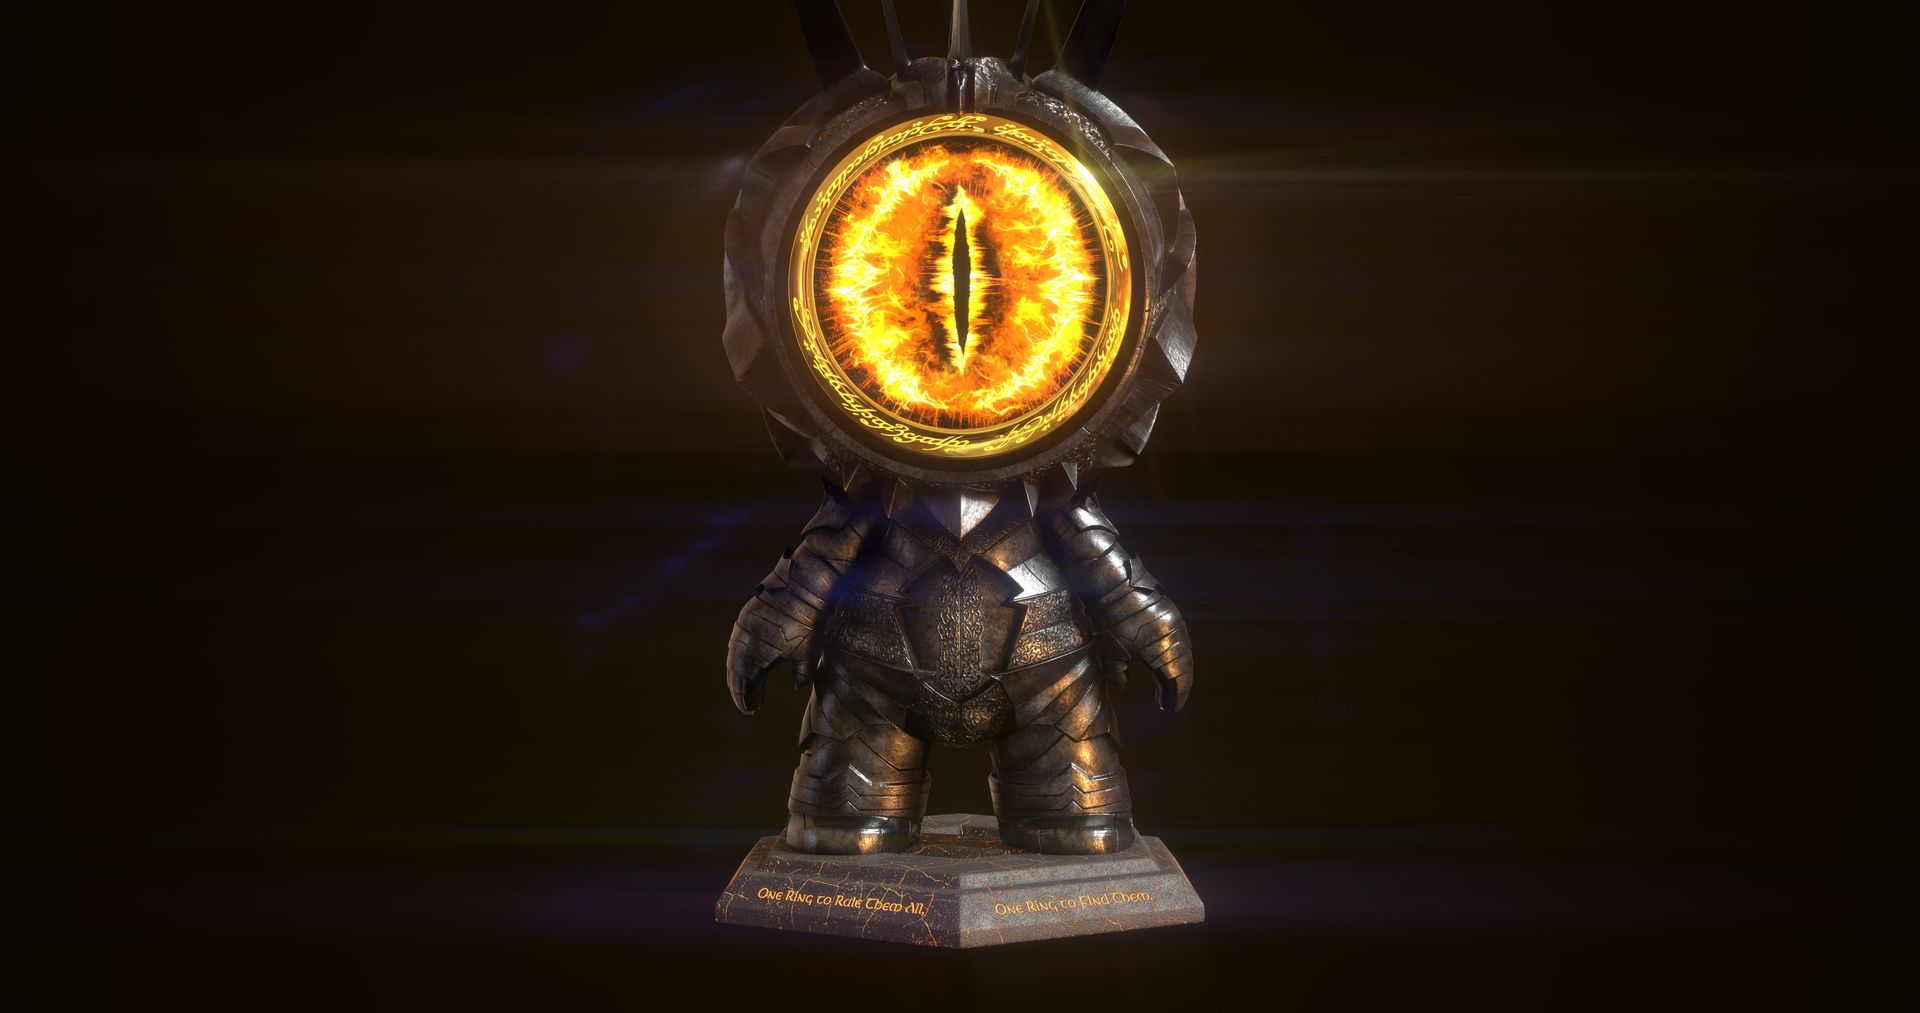
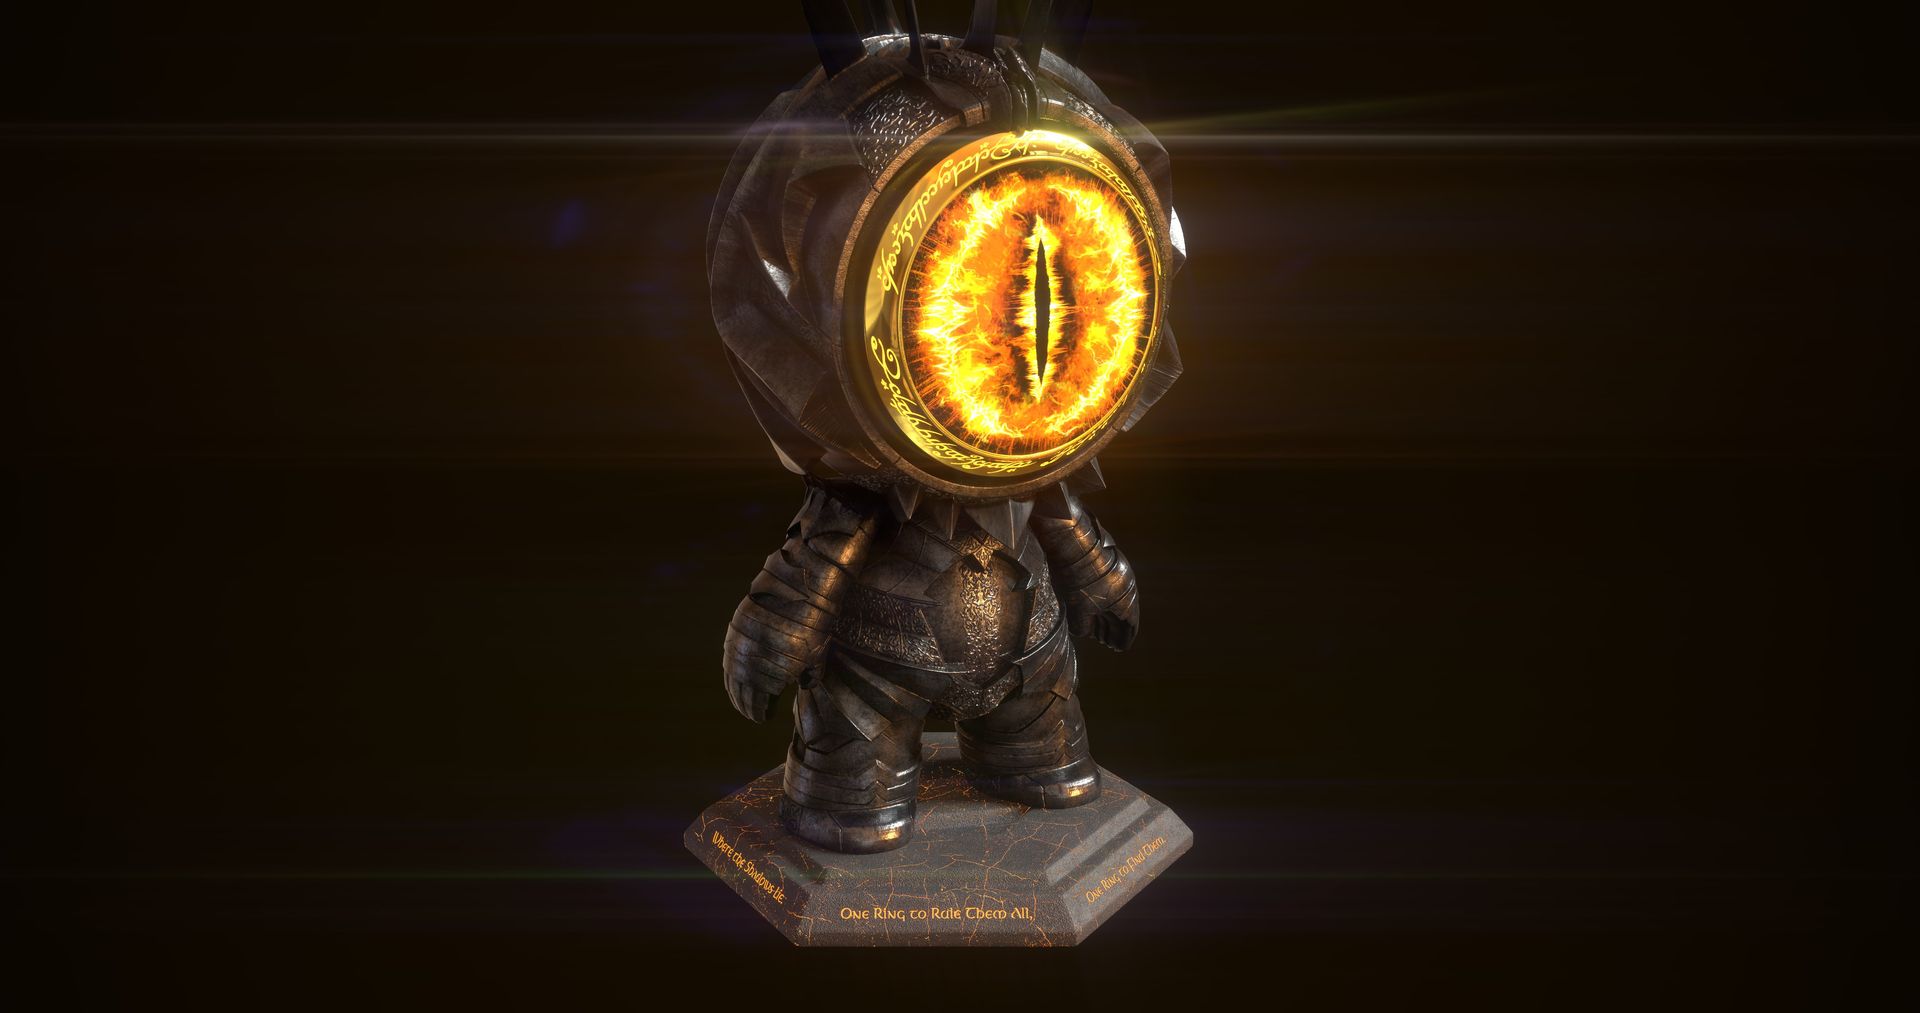
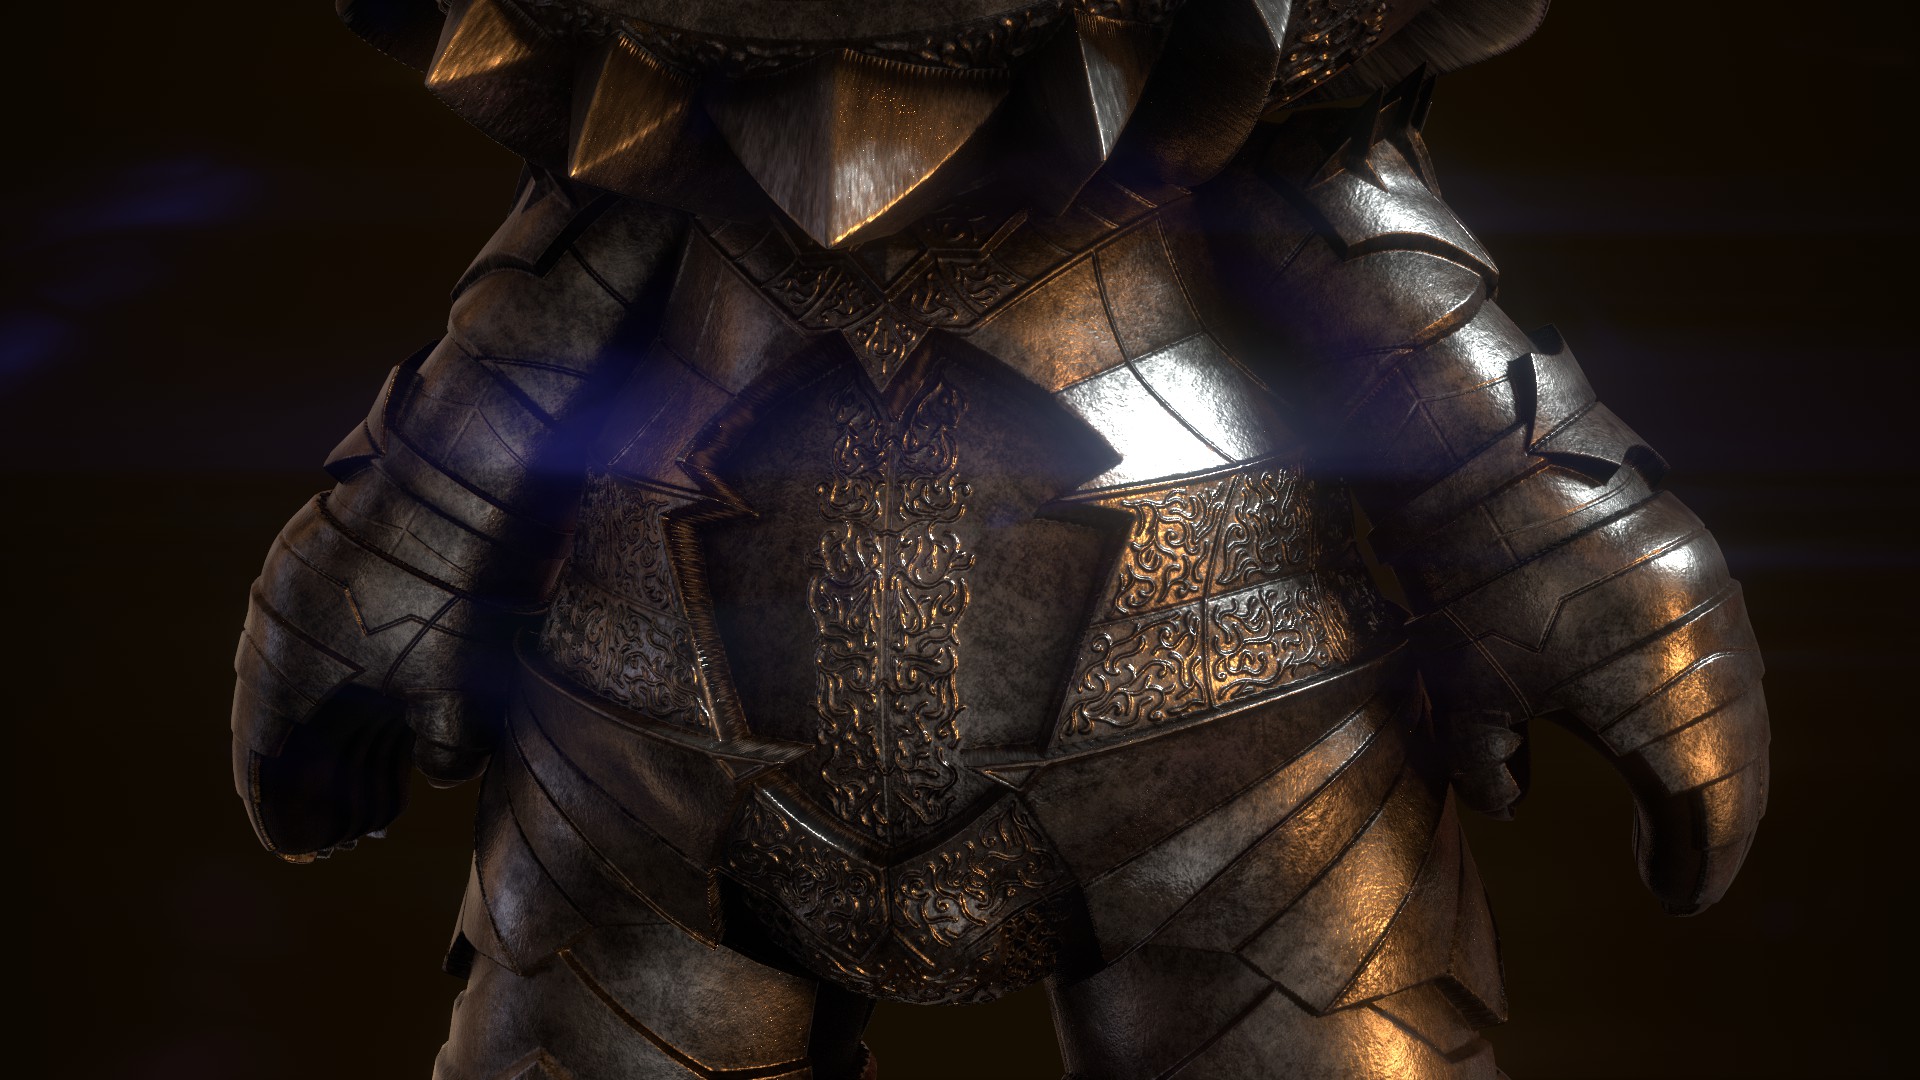
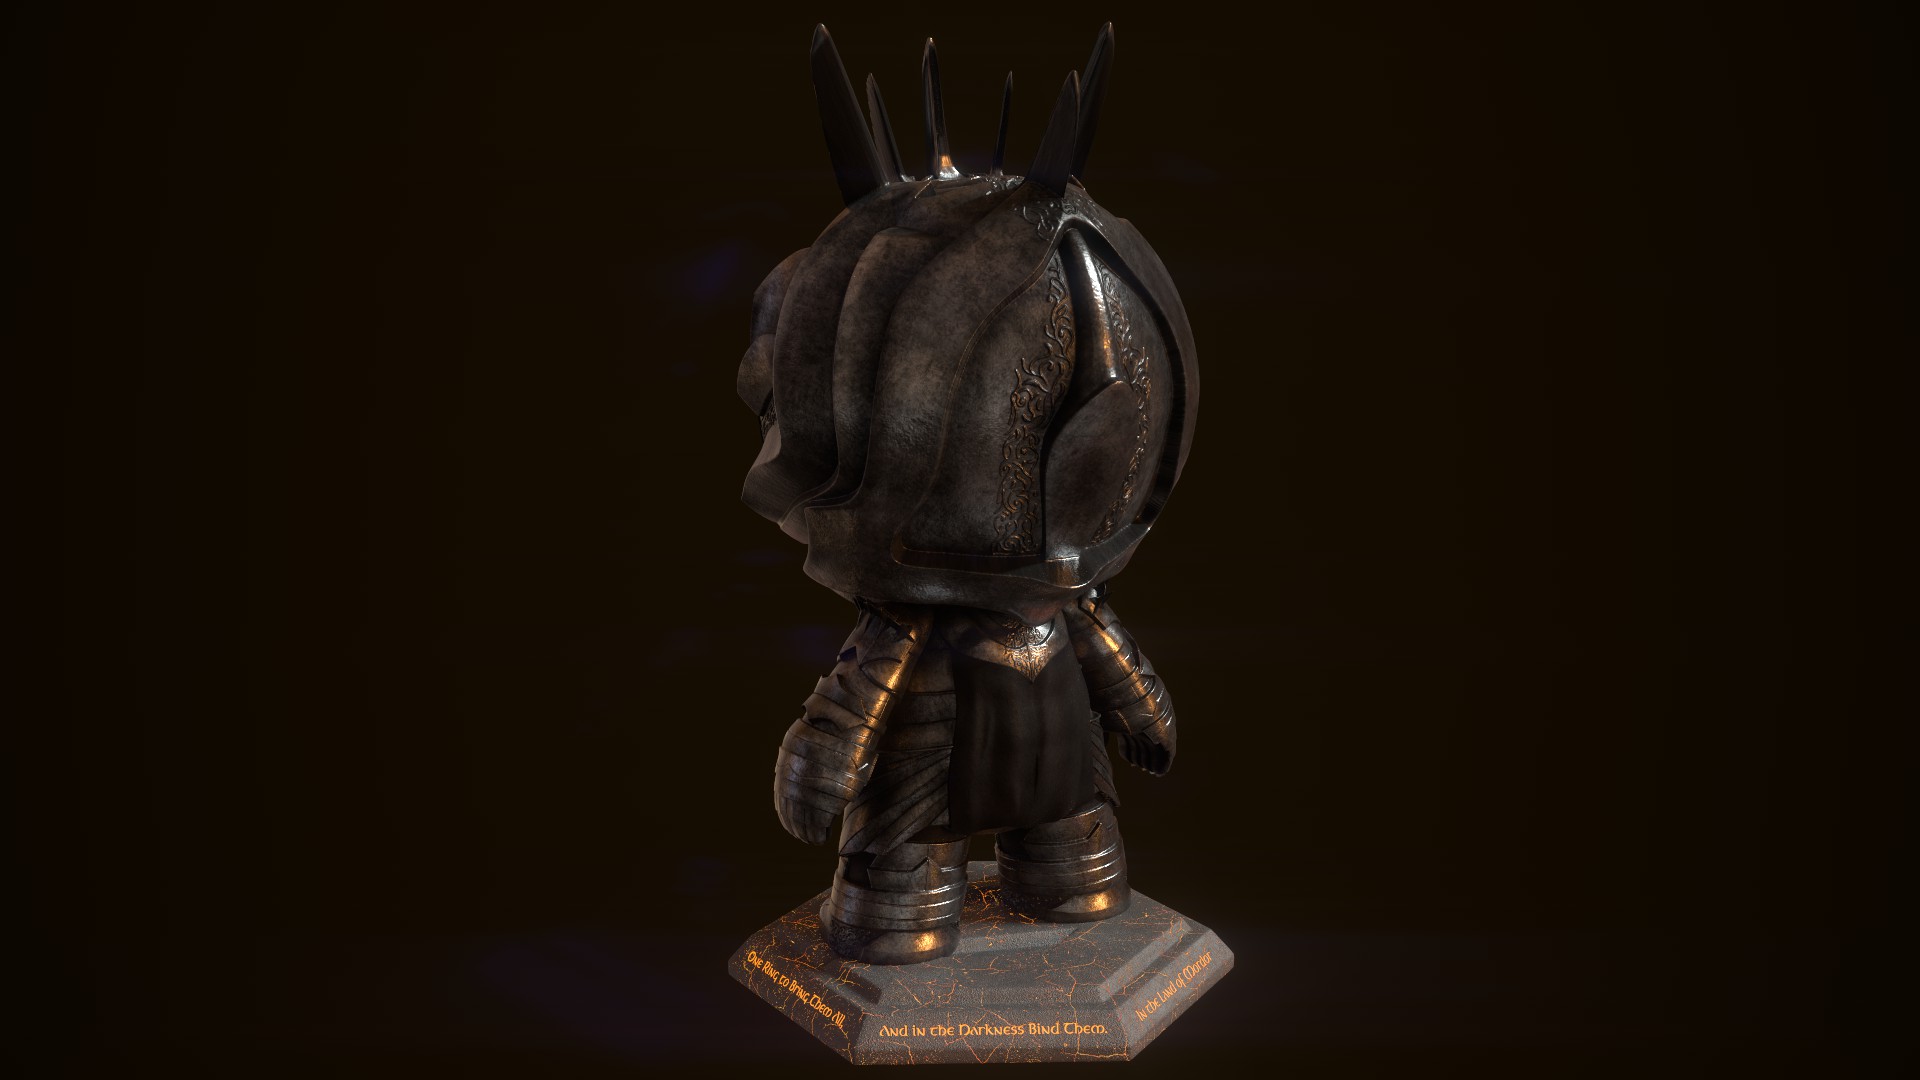
This project was a joy to work on, and I'm quite satisfied with the outcome. One of the biggest things I learned with this project was how to problem solve when things weren't going according to plan. Multiple times during the process of making the displacement map, I had to completely pivot because the process I was using at that moment wasn't going to work. In the end, I figured out how to use Maya and Z-Brush to my advantage without editing the original mesh, and the result turned out well because of it!
This was the very first project I ever submitted to a Rookies contest, and while I worked hard on it, I did not place anything nor make it to the finals. In the end, that doesn't fully matter, as this project helped me understand how different softwares can be used in conjuction with each other in creative ways to better the result of the final product, and that knowledge is worth more than a prize.
If you would like to see the entry on the original Rookies website, click the button below!